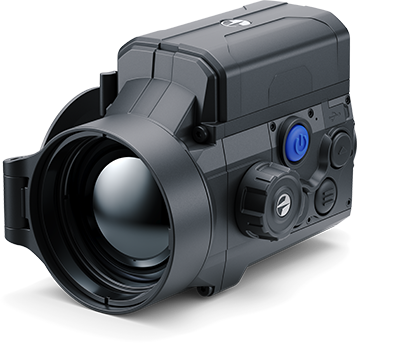
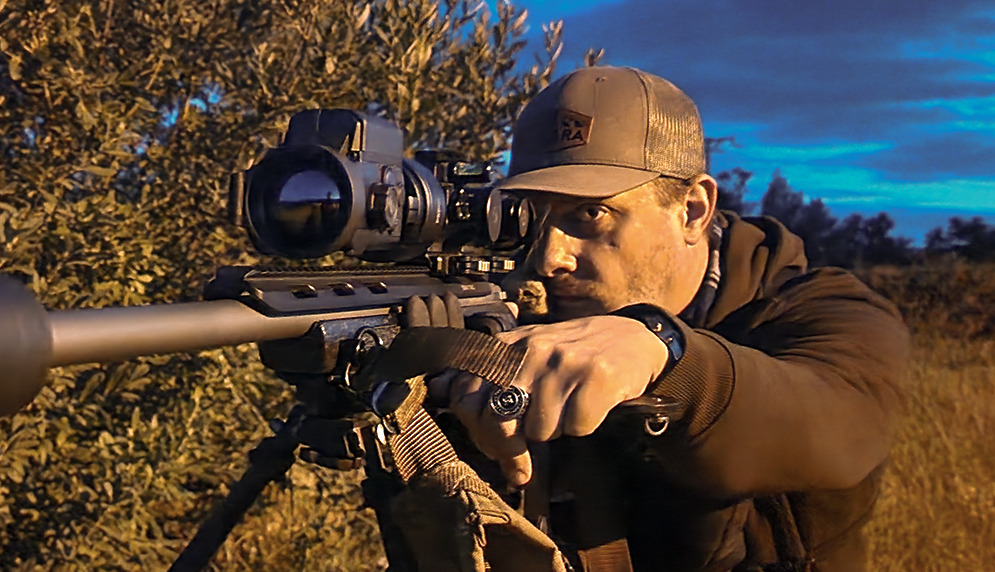
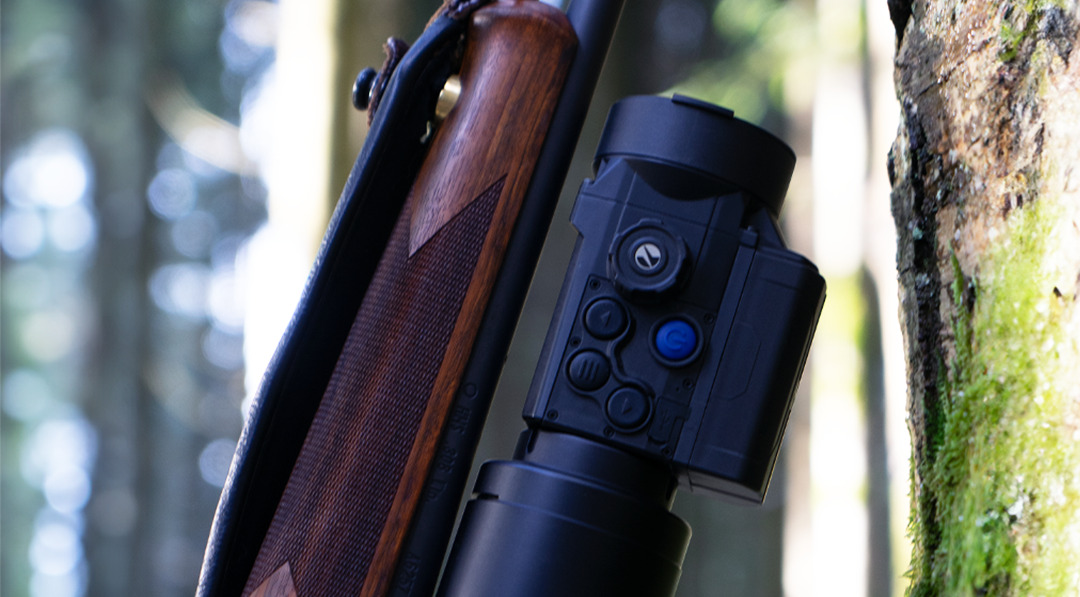
When we launched Krypton 2 a little while ago, it immediately made some waves. Aside from an obvious facelift, its internal components got an upgrade, too, making Krypton 2 both more powerful and easier to use. But with 2 models, some are still unsure which is the right one. So, let’s ask someone who has used the device in practice: Stefan Orman, a Swedish hunter and shooting instructor with great interest in gear.
The internal updates
While the design update was a pretty major one, it’s the sensor and the optics that make Krypton 2 truly powerful. So, as for the lens, we replaced it with a more permeable one, meaning it can now capture more and fainter heat signals.
We also swapped the previously used sensor for a Lynred one. Made in Europe, it offers much better quality and makes having multiple color palettes possible. There are eight in total, and which one to use will mostly depend on your needs.
If you need some guidance, though, here is how Stefan uses them: “If it’s pitch black outside and I wish to save my natural night vision while experiencing less eye fatigue, I use Red Monochrome exclusively. For more details, White Hot or Black Hot.”
For best results, you should also take note of sensitivity amplification levels. Normal is most suited for, well, normal weather, fairly dry and clear. Switch up to High during early foggy mornings or humid conditions. And Ultra is for really poor weather – rain, fog, snow, and everything in between.
And when the weather gets better, don’t forget to go down a level: “Keep in mind that Ultra and High will overexpose the sensor in clear weather or, rather, a high thermal contrast environment, and the image will not be very detailed. Think of it as opening the aperture on a professional camera in bright light – the photos will be overexposed. But in low light, opening the aperture will bring in more light and give a nice photo,” explains Stefan.
The one for you
Now, we get to the most exciting bit – choosing the right Krypton 2 for you. You see, there are two models: FXG50 and FXQ35. Pardon us for getting technical, but we have to cover the following – and once we go over the specs, we promise to tell you what they mean in practice.
Krypton 2 FXG50 has a 640×480 @ 12 µm (NETD <40 mK) thermal sensor, an F50 / 1.0 lens, and an 8.8 ° field of view. Krypton 2 FXQ35 has a smaller sensor with a higher pixel pitch (384×288 pix. @ 17 µm), resulting in higher thermal sensitivity – NETD <25 mK. With a slightly smaller lens (F35 / 1.0), it also reaches a wider field of view – 10.7 °.
Finally, they differ in detection range – FXG50 has 1 kilometer more, with a 2300 m overall detection range, and FXQ35, respectively, comes with 1300. Here, Stefan reminds you that “detection range is how far away a pixel can pick up heat – so you won’t be able to identify from that range; you will just pick up a heat source.”
These differences in their technical specifications make the models best suited for different applications. Here’s how Stefan advises picking the right one for you: “If you’re going to do pest control or damage control on wild boar, and you know that you’ll do most shooting within 70 or 80 meters, I think that FXQ35 is going to be a better tool for the job with the wider FOV.
If you know that you will be shooting beyond that distance regularly, the FXG50 will be the better unit as it has a better detection range and better identification at longer distances.
“I would seriously suggest buying the ones with the monocular because it’s so nice to have that possibility to go from handheld to clip-on.” Stefan Orman

Another thing to look at is the NETD. The 17-micron, sub-25 mK sensor will give you a better overall image of smaller heat differences in the terrain, whereas the 40 mK will not be able to produce the same kind of identification of heat difference. However, less than 40 mK is still very good and will do a good job even in bad weather.”
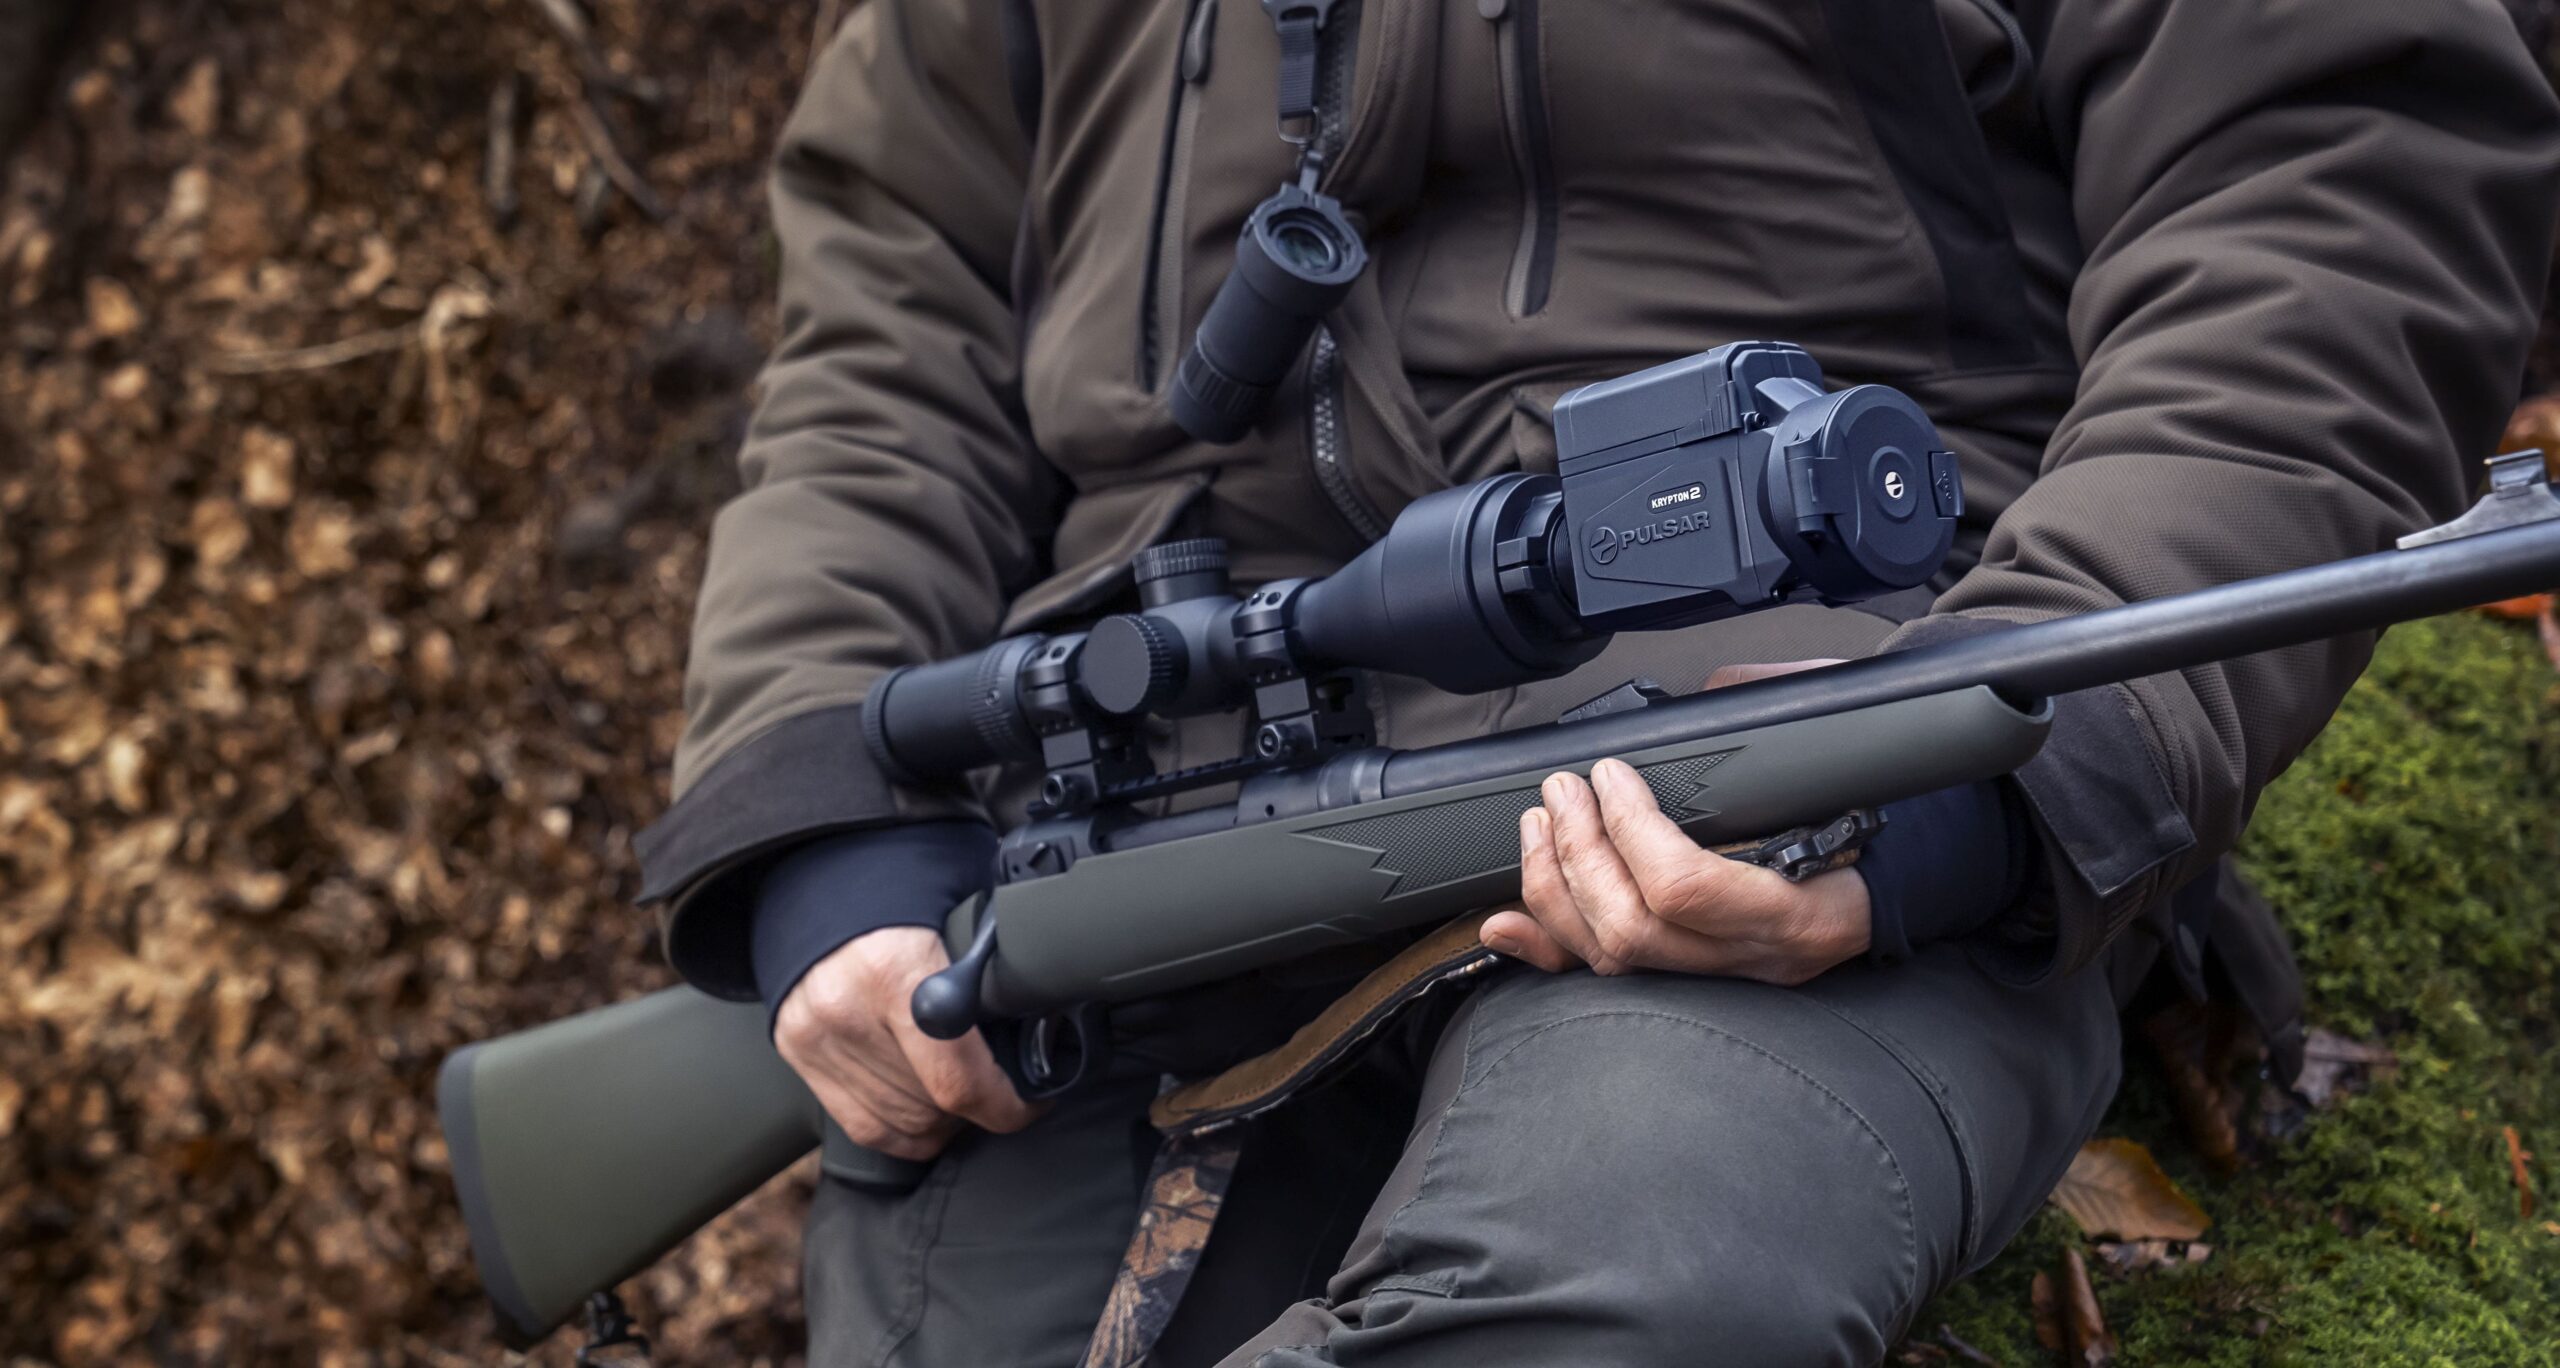
Now, if you look closely enough, you’ll see two more models of Krypton 2s: XG50 and XQ35. The only difference is the extra F in the name, which stands for front attachment. So, if you get the FXG50 or FXQ35, you’ll simply get a thermal imaging front attachment.
However, if you get the XG50 or the XQ35, technically, you will be getting a thermal imaging monocular, which means that you’ll find the Pulsar 3×20 B Monocular in the package, too. While you can purchase it separately, too, Stefan advises going for one in the first place: “I would seriously suggest buying the ones with the monocular because it’s so nice to have that possibility to go from handheld to clip-on.”
If you know that you’ll do most shooting within 70 or 80 meters, I think that FXQ35 is going to be a better with the wider FOV. If you know that you will be shooting beyond that distance regularly, the FXG50 will be the better unit as it has better identification at longer distances.
Stefan Orman
Before purchasing any night or thermal vision device, please make sure you adhere to the local legislation and only use it when it is allowed. Our ambassadors come from various countries and travel a lot, which allows them to test different devices. We do not encourage or support the illegal use of our devices in any events. If you wish to learn more about export and sales restriction policy, please visit the following link: Export and Sales Restriction Policy.


