In our lineup, we always had thermal imaging front attachments, with Krypton 2 being the newest one. And since it is such a versatile device to use in various situations, we summoned two Swedish hunters who use Krypton 2 in the field – Stefan Orman and Night Vision Viking – and asked them to put the concept into practical terms.
Understanding the concept
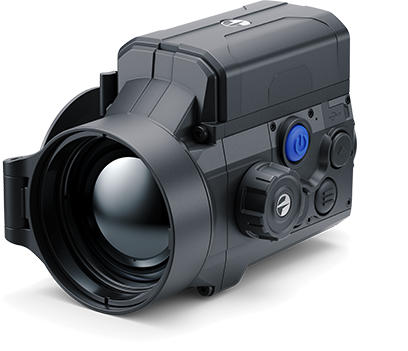
Without further ado, let’s start with the idea of a thermal imaging front attachment – also called a clip-on. Not exactly a handheld device nor a riflescope, it kind of matches the best of both worlds.
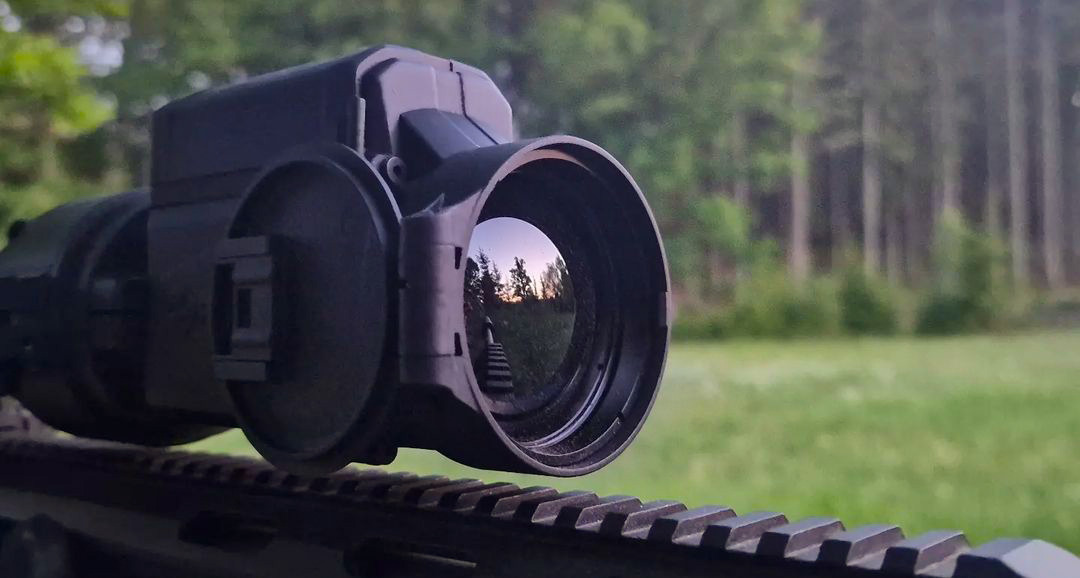
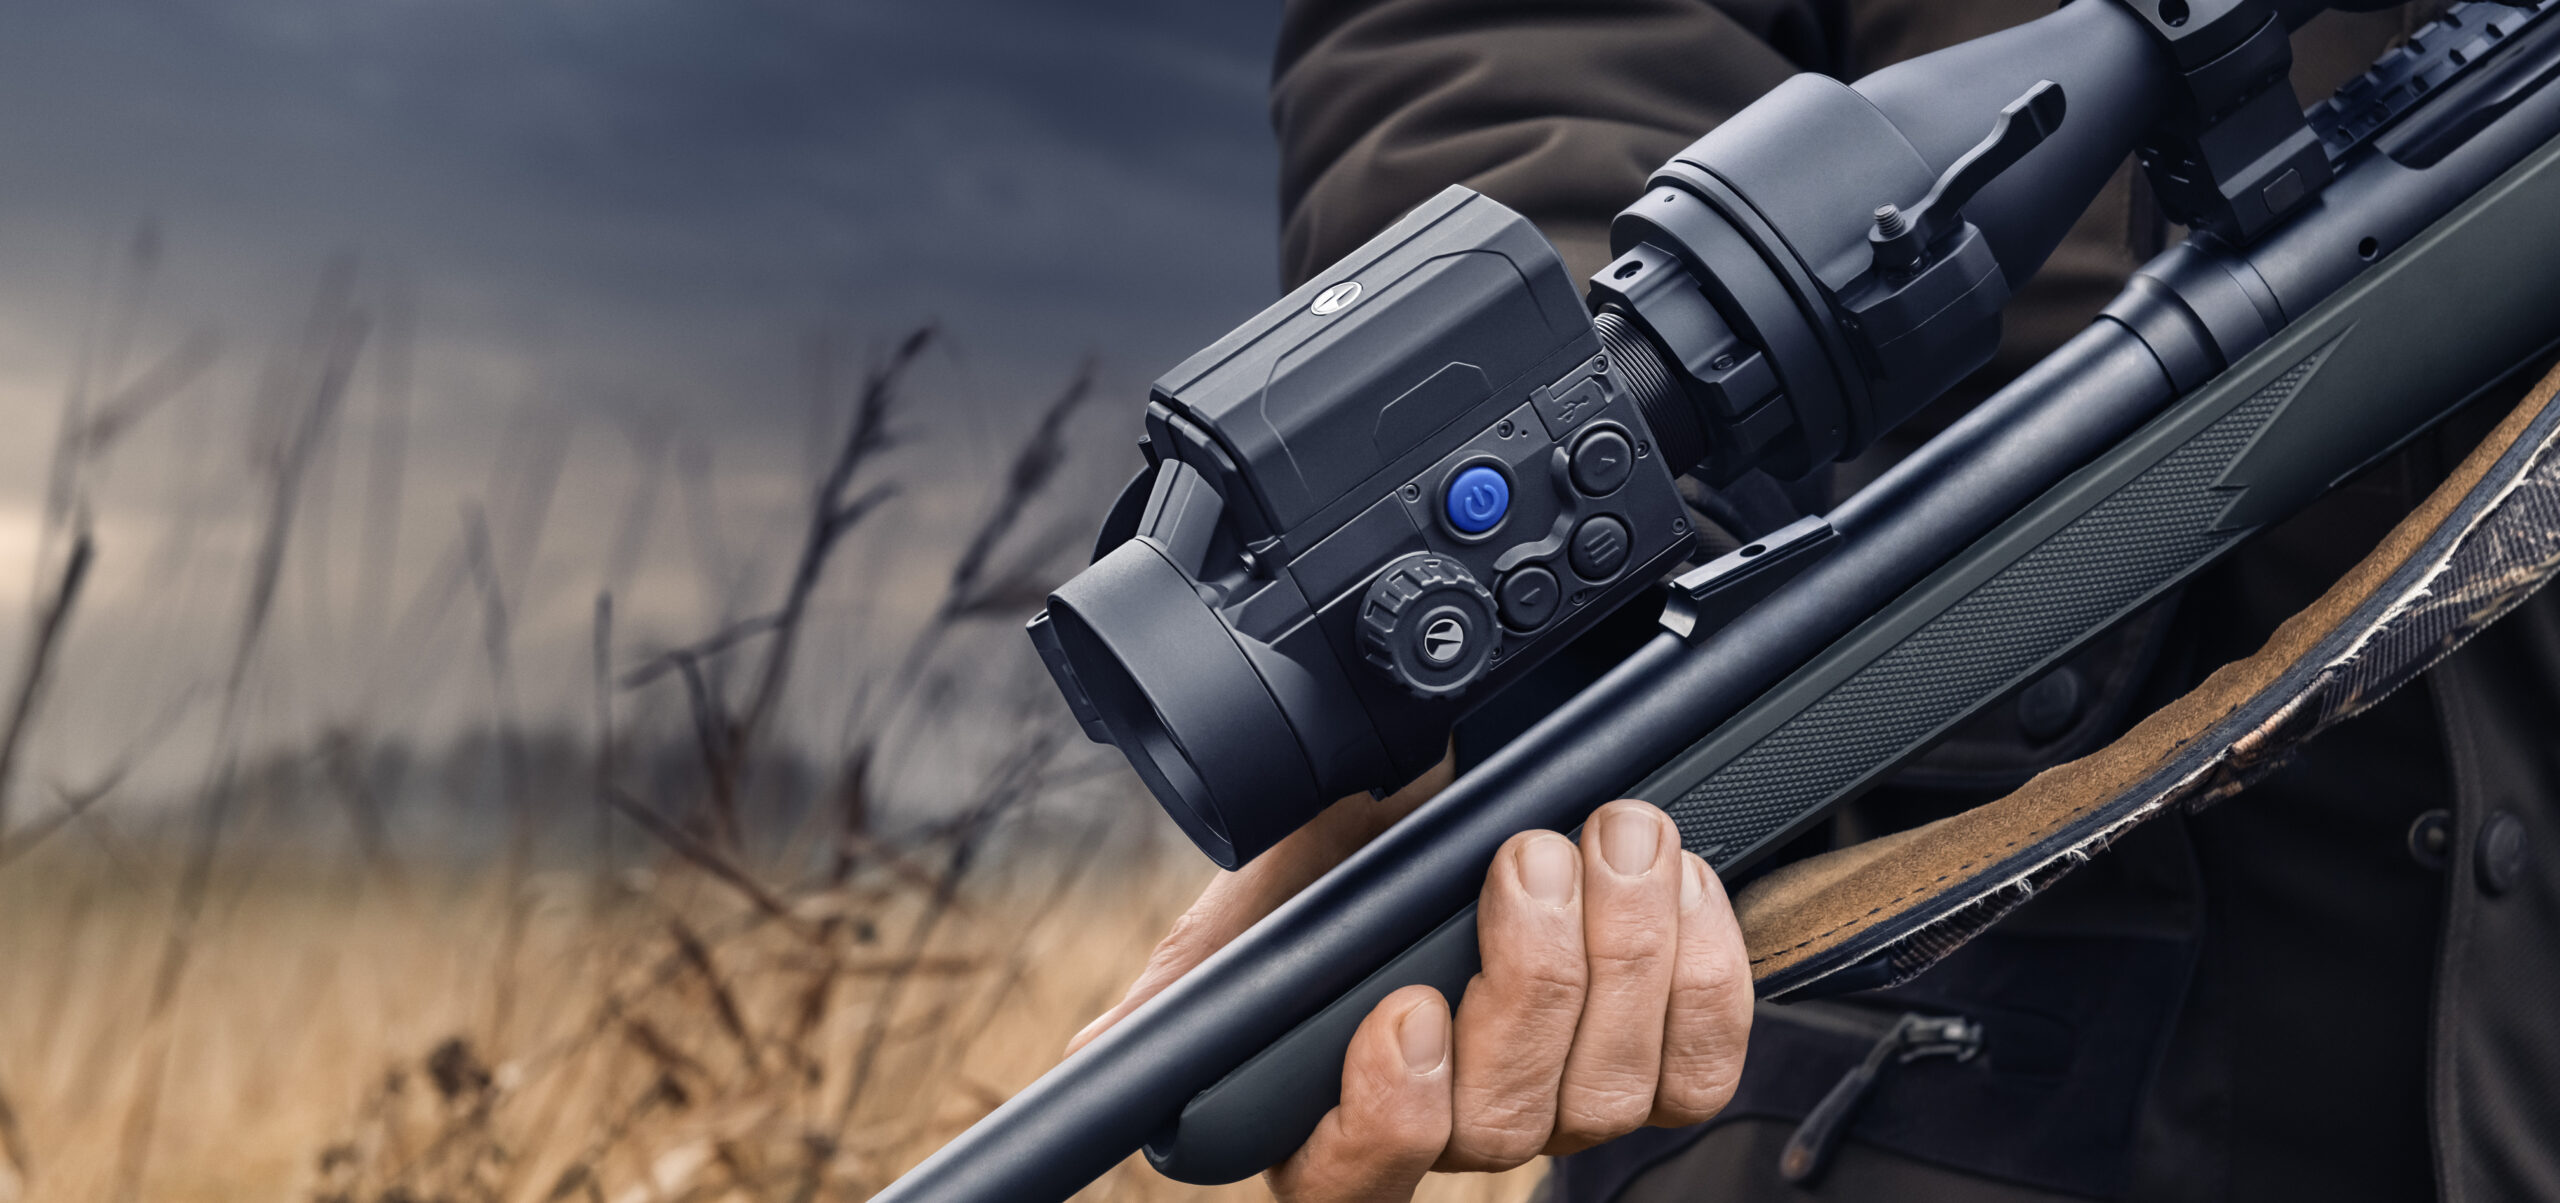
Designed to mount in the front of your daytime scope, it turns it into a thermal device in seconds. In the case of Krypton 2, you can also mount it on a Pulsar 3x thermal monocular and turn it into a handheld spotter.
Now, the obvious question is, why would you need that? Well, there are a couple of pretty sound reasons. First, it allows you to retain your shooting style and other benefits of daytime optics, like reduced eye fatigue.
Then, there is the added benefit of thermal. As Night Vision Viking explains, “Since thermal riflescopes (digital sights with reticles) are forbidden in some countries, the only way to get thermal capability for your hunting rifle is to connect a thermal clip-on to your ordinary day scope.”
Meanwhile, Stefan Orman also has some practical reasons to choose Krypton 2. “Since I love to start stalk hunting during daytime and then go into the night, I usually got a backpack with any necessities I might need – coffee, binos, knife, food, clothes for weather shifts, first aid, lights, and a few other things. The LAST thing I want is an extra 1 kg riflescope to swap between. Plus, the Krypton also doubles as my thermal spotter, so again, fewer things to carry with me while still maintaining the versatility in the terrain depending on what I’m hunting.”
Finally, there is the money issue. High-quality thermals aren’t cheap, but with Krypton 2, you could save quite a bit as you won’t need to buy two separate devices: a spotter and a riflescope, as Night Vision Viking advises. Or, as Stefan puts it, “it’s the best bang for your buck.”
Smaller, lighter, better
It is also worth noting that Krypton 2 got a major design uplift compared to its predecessor. This one is much more compact and, thanks to the battery that’s now placed on top of the device, much more balanced.
Oh, and speaking of battery – Stefan calls it “probably the best one, only rivaled by the Telos, with approximately 10 hours of active use. And it’s a lot more than I need mostly.”
But let’s get back to the design. Krypton 2 comes in magnesium alloy housing, which is not only “very durable” (Night Vision Viking’s words, not ours!) but lightweight, too. “To be completely honest, I wouldn’t care if it was a bit heavier, either. My reasoning is that when I’m hunting, it’s going to be one shot, one kill, and I always strive to shoot from the most stable position available. This can be from a tripod, monostick, bipod, or other solution. And therefore, I’m absolutely unaffected by any shift in the balance of the rifle,” shares Stefan.
If Stefan’s opinion isn’t enough, Night Vision Viking endorses it, too: “The Krypton will add some weight in the forward direction, but it’s not too bad.”
As a thermal imaging front attachment, Krypton will be a bit further away from your reach. Unfortunately, there is no way to get around this. But we did find a solution for more convenient use – a Bluetooth remote control, which “is easy to learn how to use and super intuitive,” according to Stefan.
He also adds that “the remote enhances the usability and then some! Being able to control the unit via remote makes the ergonomics almost better than the Talion, in my mind!” And if you know one thing about the Talion, it should be that it’s praised for its ergonomics.
Where you place the remote control will depend solely on your preferences. Night Vision Viking suggests “attaching it close to your trigger finger using double-sided tape,” while Stefan prefers “having both the ocular and the remote on the neck strap included in the package.”
Easy and reliable mounting
While we have covered design ergonomics already, it’s essential to talk about using the device in action, too. We hear two main concerns from hunters: is it really that easy to mount, and doesn’t it affect shooting too much?
In short: it is and it doesn’t. But let’s have Stefan cover these topics from a user perspective. “It’s important to be very exact when mounting it the first time. Be sure TO READ THE MANUAL AND FOLLOW THE SPECS ON TORQUE and so on for screws and shims.
When that is done, it’s time to align the unit with your reticle. Mount your Krypton 2 in the PSP-B adapter, turn it on, and activate the alignment reticle in the main menu. Make sure the PSP ball isn’t too loose, as this will be extremely annoying. Then, while looking through the scope (if you have a parallax adjustment, put it at 100 m), make sure the Krypton is aligned vertically and horizontally with the alignment reticle and the scope reticle, and clamp it onto your scope. After doing that, we now center the alignment reticle with the reticle in your riflescope and tighten the PSP joint according to specs.
After that is done, the mounting system is ready for QD use. However, when you remove the PSP-B adapter completely from the objective of your scope and then put it back, it is enough just to turn on the alignment reticle and align the reticles (it takes less than 30 sec when you are used to it). Plus, you can add adapters on multiple different scopes (they come in different sizes to match the lens, too) and then switch in between as needed.
However, when the PSP-B adapter is snuggly mounted on your scope, going from handheld spotter to riflescope is easily done within 10 seconds and is completely silent. (“Just twist the bayonet mount and remove the monocular, then place the Krypton 2 on the adapter on your riflescope,” adds Night Vision Viking)
Along the alignment reticle, Henrik Sproedt, a hunter from Germany, and I nagged everyone at Pulsar to make a scalable interface, too. We nagged so much that I think the team’s ears were bleeding!
On a more serious note, it’s a necessity for my scope. Sometimes, I use my S&B Exos 1-8×24, or mostly, I use my S&B PMII 3-20×50 ultra short. And the scalable interface allows me to use higher base mag scope without losing important info.”
Now, keep in mind that we recommend using Krypton 2 with a day scope with a magnification range of 2–6x. Night Vision Viking adds that “Having 1-6x power (or thereabouts) is a great magnification range for use with a thermal clip-on. A hunting scope with 2-10, 3-12, etc. would also work really well.”
However, Stefan, being a shooting instructor, is quite proficient at long-range shots (ok, not quite. Very. He hit a target from 1,000 yards with the old Krypton!). So, a higher base magnification is important for him, hence the scalable interface. And if you, too, typically go for longer distances, we’re sure you’ll appreciate the feature.
“Krypton 2 is very durable, with able and stable firmware, works great when you want to use it for scanning, and the Bluetooth remote control is perfect.”
Night Vision Viking

Zeroing a clip-on?
Another new feature we added to the Krypton 2 series is the possibility to zero it. As with all Pulsar devices, it’s easy and straightforward – our colleague Christin made a very informative video on it.
And while technically zeroing is optional, we strongly recommend doing it every now and again. We’re lucky we’ve got Stefan to back us up: “Zeroing the Krypton 2 is important because, for most, the POI shift will be smaller than 1 MOA, but in some cases, because of all the physical things going on, zeroing the clip-on is crucial. Still, no self-respecting hunter or shooter would ever just go out hunting without confirming that their gear is in order. So, after zeroing your clip to your scope, you are good to go, and if you make sure to align the unit after removing the PSP adapter, you’ll be good.”
Do keep in mind that even a properly mounted and zeroed clip-on might have POI shifts in some cases. How so? Well, because it depends on A LOT of things. “Depending on how well you align the objective lens in relation with your day optics, the objective lens in relation to the height from the center of barre to the center of the optic, then remembering that the objective of the clip-on is also forward of the day optic will also affect the trajectory in relation to the line of sight,” explains Stefan.
But there is no need to worry too much about this – at distances up to 150 meters, the POI shift is typically very small. “But further out, there will definitely be a difference. So collecting D.O.P.E. is very important,” advises the shooting instructor.
The verdict
For us, the verdict seems to be simple: the Krypton 2 is a great tool for those who are looking for a versatile device with loads of different applications in the field. There is a reason it has become a forever favorite for Stefan. Night Vision Viking adds that it is “very durable, with able and stable firmware and user interface, works great when you want to use it for scanning, and the Bluetooth remote control is perfect, and makes operation much easier and faster.”
And if you’d like to learn more about the image quality of Krypton 2, as well as choosing the right model, we’ve covered it extensively here.
Before purchasing any night or thermal vision device, please make sure you adhere to the local legislation and only use it when it is allowed. Our ambassadors come from various countries and travel a lot, which allows them to test different devices. We do not encourage or support the illegal use of our devices in any events. If you wish to learn more about export and sales restriction policy, please visit the following link: Export and Sales Restriction Policy.


