Expert Contributor:
Stefan Orman
How do you zero a thermal scope fast – and still trust it when it matters in the field?
Zeroing a thermal riflescope is about matching the digital reticle (point of aim) to the actual bullet impact (point of impact). Unlike daylight optics, thermals rely on pixel-based reticle shift, thermal contrast, and sensor calibration, which means the process is different – but not complicated when done correctly.
This updated guide, based on a shooting instructor’s crash course and modern thermal features, shows the simplest and most reliable way to zero your thermal scope. You’ll learn how to get on paper quickly at short range, lock a solid 100-meter hunting zero, use Freeze and One-Shot Zero, and confirm your setup so your point of impact (POI) stays exactly where you aim.
Quick answer
To zero a thermal scope fast and accurately, follow this simple process: shoot once, freeze the image, move the digital reticle to the bullet impact, save the profile, and confirm at your hunting distance. Start at ~30 m to get on paper, use a thermal-visible target (heated patch or foil), stabilize your rifle, and always confirm your final zero at 100 m in similar temperatures to your hunting conditions.
Fast workflow:
- Mount + stabilize your rifle and scope
- Use your actual hunting ammunition
- Set up a thermal-visible target
- Start at ~30 m, fire 1–3 shots
- Freeze the image (One-Shot Zero)
- Move the reticle to the impact and save
- Confirm at 100 m, adjust if needed
- Re-check before hunting in similar temps
Key points:
- Thermal zeroing aligns your digital reticle to the real bullet POI
- Heated targets provide the best accuracy
- One-Shot Zero saves time and ammunition
- Temperature, mounting stability, and ammunition consistency matter
- Final confirmation at 100 m ensures field-ready reliability
How to zero a thermal scope
Zeroing a thermal scope is simpler than it looks, especially with modern features like Freeze and One-Shot Zero. The goal is always the same: align your digital reticle with the real bullet impact as efficiently as possible. By starting close, using a thermal-visible target, and following a structured step-by-step process, you can lock in a reliable zero in just a few shots and trust it fully in the field. Below is the fastest, most consistent workflow hunters use today.
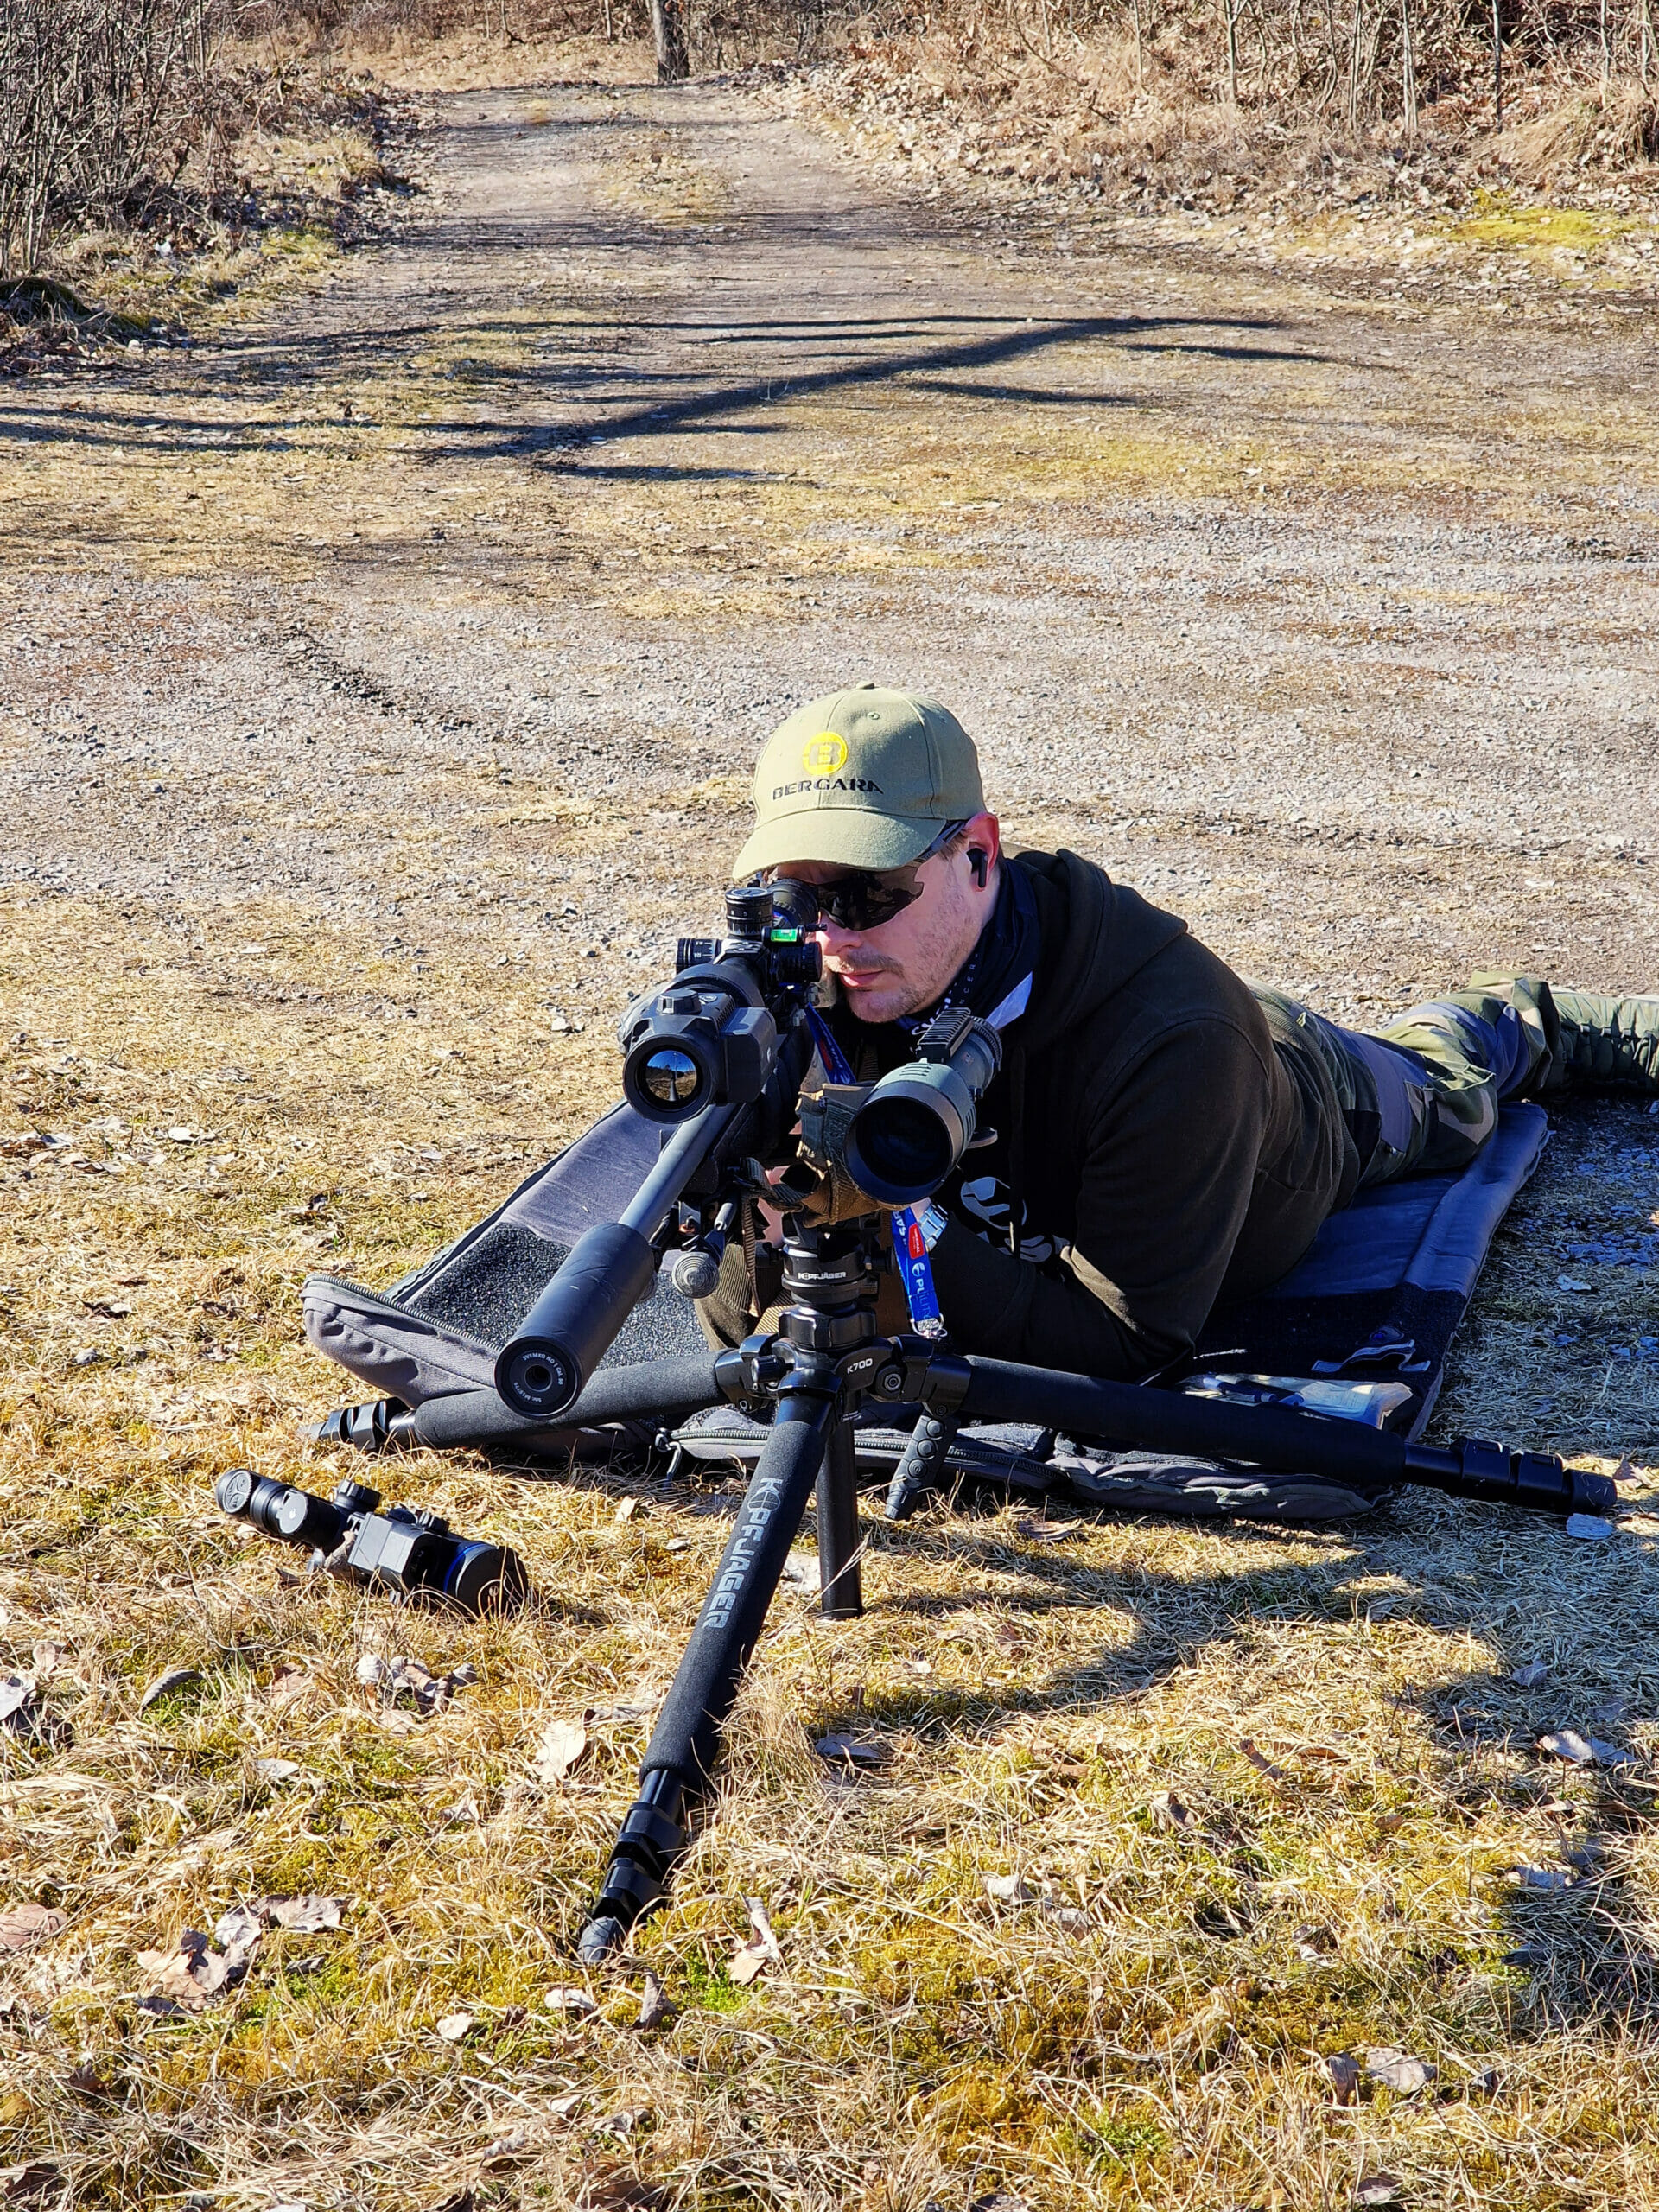
Step 1: Mount and stabilize everything
Ensure the thermal scope is securely mounted with properly torqued rings. Use a solid bench rest or supported shooting position.
Step 2: Use the same ammunition you’ll hunt with
Changing loads later will most likely shift POI.
Step 3: Set up a thermal-visible target
Use a Pulsar heated patch, electric thermal target, or foil/contrast target so the aimpoint is clearly visible in the thermal scope.
Step 4: Start at a short distance (~30 m)
Fire 1–3 shots to get on paper without wasting ammunition, as you might do if you were starting at 100 m.
Step 5: Open the zeroing / freeze / one-shot menu
Freeze the image if your scope supports it.
Step 6: Move the reticle to the impact point
Adjust windage (X) and elevation (Y) from point of aim until the reticle sits directly on the point of impact.
Step 7: Save your zero profile
Store this as your base zero.
Step 8: Confirm the zeroing at your hunting distance (usually 100 m)
Shoot a 3-shot group, make fine adjustments, and re-save. Remember to change the distance for the profile.
Step 9: Do a quick field confirmation before hunting
A final check in a similar temperature ensures confidence. Ideally the shooting position is the same as you most likely would use during a hunt.
Key takeaways
- Thermal zeroing aligns the digital point of aim to real bullet point of impact
- Stability and correct ammunition matter more than fancy targets
- You will get the absolute best result if you use a heated target
- Start close (~30 m), and finalize at 100 m
- The freeze / one-shot zero saves ammunition and time
- Always confirm in similar temperatures before hunting and confirm the zeroing from a hunting position.
Insight from Stefan Orman, hunter and shooting instructor:
It is best to shoot from a bench rest. This will ensure a steadier shot and more precise zeroing. Having a quality spotting scope is also very beneficial. While not crucial, it will save you time running back and forth to the target to check the POI.
What is thermal scope zeroing and why is it different from zeroing daylight optics?
Zeroing a thermal scope still means aligning the point of aim (POA) with the point of impact (POI), but instead of mechanically adjusting reticle lenses in a glass optic, you’re digitally shifting a reticle across the sensor pixels.
How digital zeroing works
Key differences include:
- Digital reticle movement (pixel shift) instead of turret clicks
- Dependence on thermal contrast to see the aim point
- Sensor recalibration cycles (NUC) can temporarily shift the image
- More sensitivity to thermal scope mounting stability and background temperature
Because the reticle moves digitally, sloppy technique or poor contrast can create errors that aren’t obvious until you miss the animal in the field.
When should you re-zero or confirm zero of a thermal scope?
Re-zero your thermal scope whenever something changes that can affect POI.
Re-zero or confirm zero:
- If you change ammunition type or ammunition lot
- If you remove or remount the thermal scope
- If the scope or rifle takes a hard knock or drop
- If you switch rifles and scope
- In-between seasons with large temperature differences
Many experienced hunters confirm zero at least twice per season, especially when ambient temperatures differ significantly from the original zeroing session, or before the hunting season starts.
What do you need before zeroing? (quick checklist)
You need stability, correct ammunition, visible contrast target, and a known distance.
Checklist:
- Properly torqued scope rings and mount
- The same ammunition you’ll hunt with
- A solid bench rest or stable shooting position
- A known distance (use rangefinder or a marked range)
- A thermal-visible target
Skipping any of these will likely introduce errors in your zeroing of the scope.
How to set up a thermal-visible target (3 proven options)
Thermal scopes need heat or cold contrast, not printed bullseyes.
1. Heated patches on a paper grid (best overall)
- Apply heated Pulsar adhesive patches to a grid target
- Excellent for measuring POI shift precisely
- Ideal for 30–150 m zeroing
2. Electric thermal target (best for long range)
- Use a battery-powered heating element
- Will provide a strong, consistent contrast at 300 m+
- Ideal for advanced setups or professional use
3. DIY cardboard + aluminium foil (budget option)
- Foil reflects ambient temperature and appears “cold”
- Works to ~100 m
- Less effective in overcast or low-contrast conditions
Stefan’s insight:
If you buy thermal zeroing targets from Pulsar, you get a packet of 10 heated patches and paper targets. You stick the patch on the paper and tape it to a surface. The paper has 1 cm increments for measuring your POI, and the heated patches are clearly visible.
Best conditions for thermal zeroing
Choose stable temperatures and a clean unobscured background.
Best practices:
- Zero your scope during stable weather conditions
- Avoid strong wind or thermal mirage
- Pick a background that contrasts with your target
- Perform a manual NUC before shooting your groups
What is the best zero distance for a thermal scope?
Start close, then finalize at your main hunting distance.
Recommended zero distances:
- ~30 m (25–35 m): Get on paper fast, without spending a lot of ammunition
- 100 m: Standard base zero for most hunting scenarios
A 100 m zero provides a predictable trajectory window and works well across most calibers and terrain types.
Choosing distance by hunting style
- Dense woods / short shots: 100 m base zero
- Open terrain: 100 m base + additional profiles (150–400 m)
- Smaller calibers: Tighter POI pattern matters more
- Ethical shots: Choose a zero that minimizes holdover errors
Modern thermals like Pulsar Thermion and Talion allow multiple zero profiles, making distance flexibility easy.
How to zero a thermal scope during the day
Thermal doesn’t rely on light, so you can definitely zero a thermal scope during the day. Use the same procedure as described above.
Daylight zeroing tips:
- Daylight often provides better thermal contrast
- Avoid sun-heated backgrounds that overpower the target
- Shaded targets with artificial heat work best
- Perform frequent NUCs as temperatures fluctuate
Many shooting instructors and hunters prefer daylight zeroing because it’s easier to see impacts and manage safety.
How to do one-shot zero the quick and easy way
Fire one shot → freeze → move reticle → save → confirm.
Modern Pulsar scopes (including the Thermion and Talion) feature one-shot zero, which dramatically reduces ammunition use.
Workflow overview:
- Fire a single shot
- Freeze the image
- Move the reticle onto the impact
- Save the profile
- Fire one confirmation shot
This method is fast, efficient, and ideal for field adjustments.
Clip-on thermal attachments: do they need zeroing?
Usually no — they need display calibration, not full zeroing.
Calibration vs. Zeroing
- Confirm your day optic is already zeroed
- Mount the clip-on consistently every time
- Use visual references or markings for alignment
- Apply X/Y correction only if POI is off
Clip-ons rely on repeatable mounting more than traditional zeroing.
However, you can never be too safe and precise, so it is always recommended to double-check your POI – even for professionals like Stefan:
Most clip-ons will align perfectly from the beginning, but there might be a POI shift, and there are various reasons for it. With my Krypton, there was barely any shift, but I’m a precision freak, so I still decided to adjust it.
What mistakes can ruin thermal zeroing? (and how to avoid them)
Common errors:
- Poor thermal target contrast
- Unstable shooting position
- Loose mounts or ring torque issues
- Zeroing with different ammunition than your hunting ammunition
- Forgetting to NUC before shooting groups
- Saving the zeroing at the wrong distance
Avoiding these mistakes does more for accuracy than any advanced feature.
How to verify zero in the before hunting
Fire 1–2 confirmation shots at hunting distance in similar temperatures.
This quick check ensures:
- No POI shift issues due to changes in the scope mount
- No ammunition POI shift issues
- No temperature-induced POI drift
It’s a cheap insurance before participating in an expensive hunt.
Conclusion
Zeroing a thermal scope isn’t difficult, but it demands discipline, stability, and contrast. By starting close, using proper heated targets, using the “freeze” function or one-shot zero, and confirming at real hunting distances, you can trust your POI completely.
Whether you’re using a Thermion, Talion, or another modern thermal optic, the process stays the same: align digital reticle to real-world impact, save the profile, and confirm before the hunt.
Do it right once – and your thermal optics will perform when it matters most.

FAQs
Can you zero a thermal scope during the day?
Yes. Daylight zeroing often provides better visibility, contrast and safer conditions.
At what distance should I zero my thermal scope for hunting?
100 m is the most common and versatile base zero.
What targets work best for thermal zeroing?
Pulsar heated patches on a grid target offer the best thermal target.
How does one-shot zero work?
You freeze the image after one shot and move the reticle to the impact point.
Why does my thermal POI shift after zeroing?
Common causes include temperature changes, scope mount movement, ammunition changes, or missed NUCs.
How often should I re-zero seasonally?
At least twice per season or when temperatures change significantly.
Does zoom affect thermal zero accuracy?
Digital zoom does not change zero but can exaggerate the perceived error.
Do thermal clip-ons need zeroing or only calibration?
Usually calibration only, assuming consistent mounting.
About the experts

Co-Author:
Freya Askjaer
Freya Askjaer is a Danish huntress living in Sicily, with over a decade of experience hunting across the world.
She has tested Pulsar optics in snow-covered mountains, thick brush, and desert-like areas through every season.

Expert Contributor:
Stefan Orman
Stefan Orman is a Swedish hunter, professional shooter, and experienced shooting instructor known for his deep expertise in hunting techniques and precision shooting. He’s also served as a longtime ambassador for outdoor optics and thermal-imaging brands, sharing practical skills and insights on marksmanship, firearm handling, and fieldcraft.
Before purchasing any night or thermal vision device, please make sure you adhere to the local legislation and only use it when it is allowed. Our ambassadors come from various countries and travel a lot, which allows them to test different devices. We do not encourage or support the illegal use of our devices in any events. If you wish to learn more about export and sales restriction policy, please visit the following link: Export and Sales Restriction Policy.